Thunderbolt Restoration Part 3 - Paint Removal Continued...

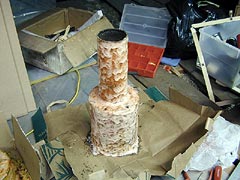
Paint removal continues with the foaming of the chopper housing tube.


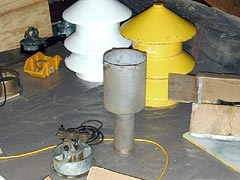
Here is the housing tube clean, in the background of this photo is a pair of Model 2T housings, and behind them are some parts of other model 2's a currently have disassembled awaiting painting.


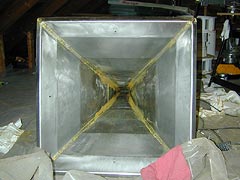
Nasiest of all tasks was the paint removal on the horn! After 2 treatments of paint remover, the horn paint was mostly still in place. I had to resort to disc-sanding the surfaces for about 3 hours in order to get out the bulk of the paint. In this photo, you can see the only paint that remained in the horn after this process, that which is on or around the welded seams. I'll take care of that later, just before I paint the horn.


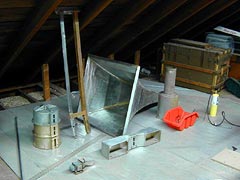
This photo I took after I did paint removal on all my Thunderbolt parts. The pieces in this photo are, for the most part, ready to be primed. The exceptions are the horn bracket, which has one nice half and one badly corroded half, and the remaining paint in the horn already mentioned. I'm filling the pits in the horn bracket with a steel-epoxy metal filler before I paint it.

This photo shows some 1003 parts, the acquisition and restoration of which are dealt with in the next few pages.


<---Back to Page 2   Proceed to Page 4 --->


Adam Smith ©2002