Thunderbolt Restoration Part 5 - Cleaning and Painting the 1003 chopper
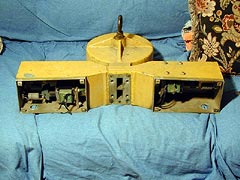
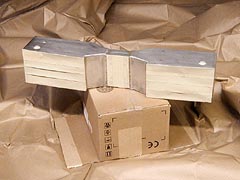
This photo, shown also on the previous page, is the starting point of the 1003 chopper paint and cleaning procedures.


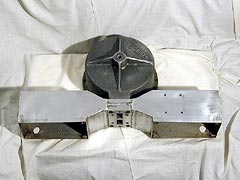
The first thing I did to this assembly was remove the paint and clean the entire thing with a Scotch-Brite 7747 finishing pad. Then, I removed the solenoids themselves, as you can see in this photo they are gone. I separated the stator and solenoid housing for the paint removal and cleaning, and just re-assembled them for this photo.


Next, I masked off all the parts of the solenoid housing I did not want painted. This includes the flat surfaces where the gaskets go, the tapped holes and the insides of the housing.


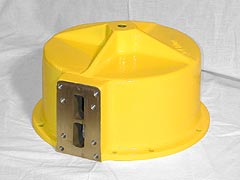
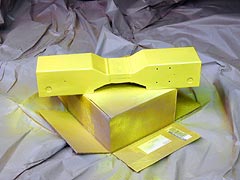
After masking, I primed and painted the solenoid housing. I am not showing the primer step here because it's boring to have so many photos of the same thing. This assembly got a coat of Rust-oleum professional grey primer followed 24 hours later by a coat of Sunburst Yellow, and then a final coat of yellow approx. 48 hours after that.


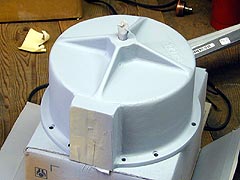
I primed the 1003 stator also.


Here is the stator with its final paint job, 3 coats of Sunburst each 48 hours apart.


<---Back to Page 4   Proceed to Page 6 --->


Adam Smith ©2002